Conduit Run Break
With the help of the BIMrx MEP - Conduit Run Break command, the Revit user can automatically place union fittings at distances specified by the user on a selected run of conduit in their project. This command could be used in 3D.
In Revit:
- In the ribbon, navigate to the BIMrx tab >> BIMrx MEP panel >> Conduit Run Break command:

This opens the Conduit Run Break Settings dialog:

- Select the Distance Between Breaks in project units.
- Select the Distance From Fitting to define the minimum distance a break is allowed to be placed near a fitting in project units.
- Select the Fitting Length of your conduit fittings in project units.
- Click OK.
- Select a set of conduits in your view that you would like to break in one or multiple runs.
- Select the starting conduit of the run highlighted in Green.
- This starting conduit will be saved so that if the command is used on the same run later, it will remember where the start of the run is.
- Click Finish in the options bar.

The run will start adding breaks in the conduits beginning with the spacing at your selected starting conduit. The nearest connector/end is where the spacing starts and the other end is left with the remainder. At every break point there is a union placed, joining the conduits.
Example of setting Conduit Run Break Settings:

Example of selecting runs to run command on:

Example of option to Select Start of the Run for the first selected run:
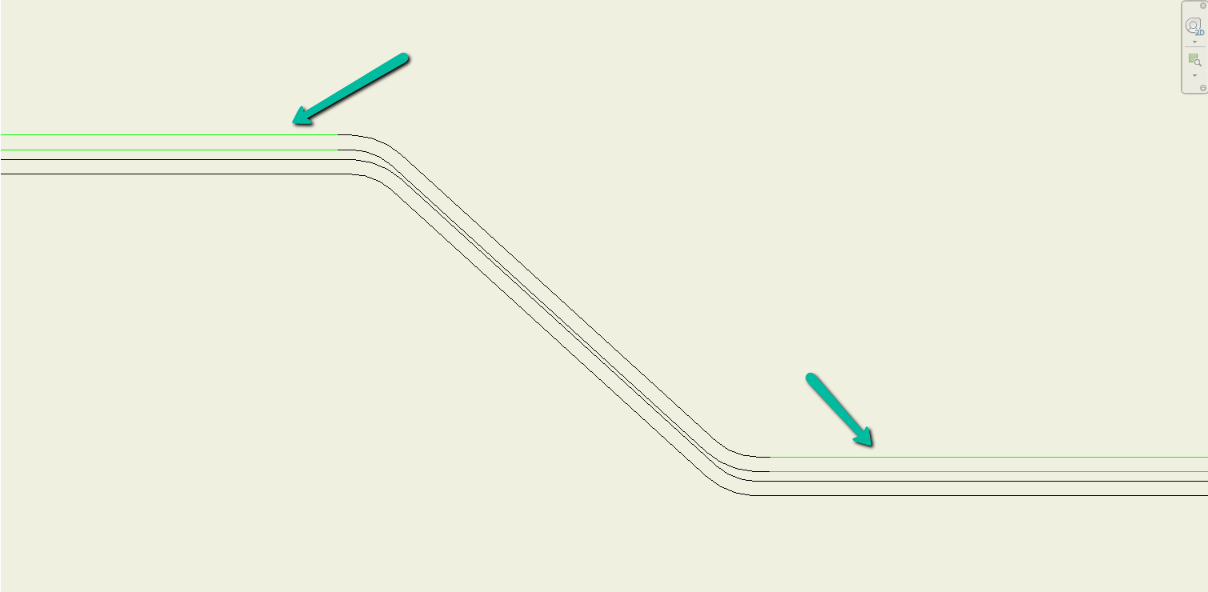
Example result of selecting first run and option to Select Start of the Run for the second selected run:

Example result:
