Auto Break
With the help of the BIMrx MEP - Auto Break command, the Revit user can automatically place union fittings at distances specified by the user on a selected piece of MEP run in their project. This command can be used in 2D and 3D views.
In Revit:
- In the ribbon, navigate to the BIMrx tab >> BIMrx MEP panel >> Auto Break command:

The Auto Break Settings modeless dialog box pops up:

- Select the distance in project units.
- Select a single segment (1) or multiple segments (2) to Auto Break:
- Select a single segment in the view with the modeless dialog open.
- The closest connector to the segment user selects determines where the Auto Break feature begins.
- Check the Break Multiple option to select multiple segments in the view with the modeless dialog open.
- Click the Finish button in the Options Bar to complete the selection.

- Click the end of one of the segments to determine where the Auto Break feature begins.
The nearest connector/end is where the spacing starts and the other end is left with the remainder. A union is placed at every break point as defined.
Notes:
- The unit of measurement for Length will follow the settings for project units. (i.e. If the project units are in mm the Select Distance will read in mm.)
Example before Auto Break:
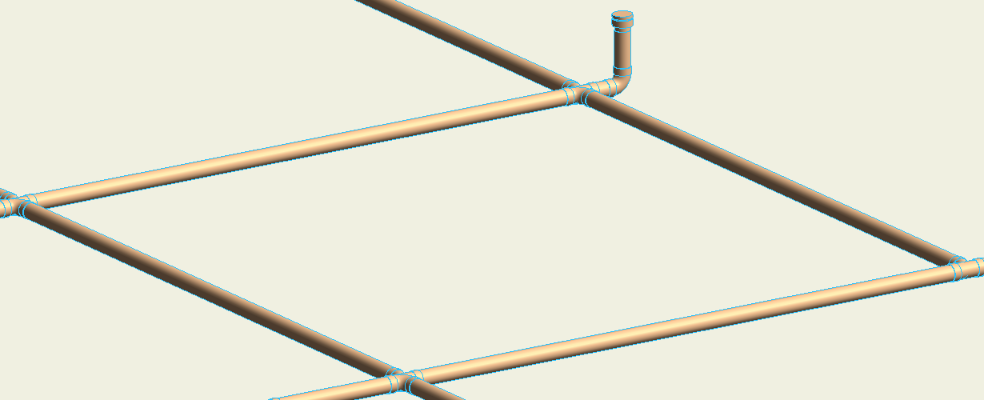
Example after Auto Break, where the green arrow indicates the selected determining starting side for each of the multiple selected segments:
